Understanding your skin is the first step to caring for it. Whether you're building a new skincare routine or fine-tuning an existing one, learning how to do a skin analysis helps you make better, more personalized choices.
In this guide, we’ll walk through a simple, step-by-step skin analysis process you can do at home, with no special tools or training. You’ll learn how to assess your skin type, identify common concerns, and gather insights that can help you choose the right products and routine.
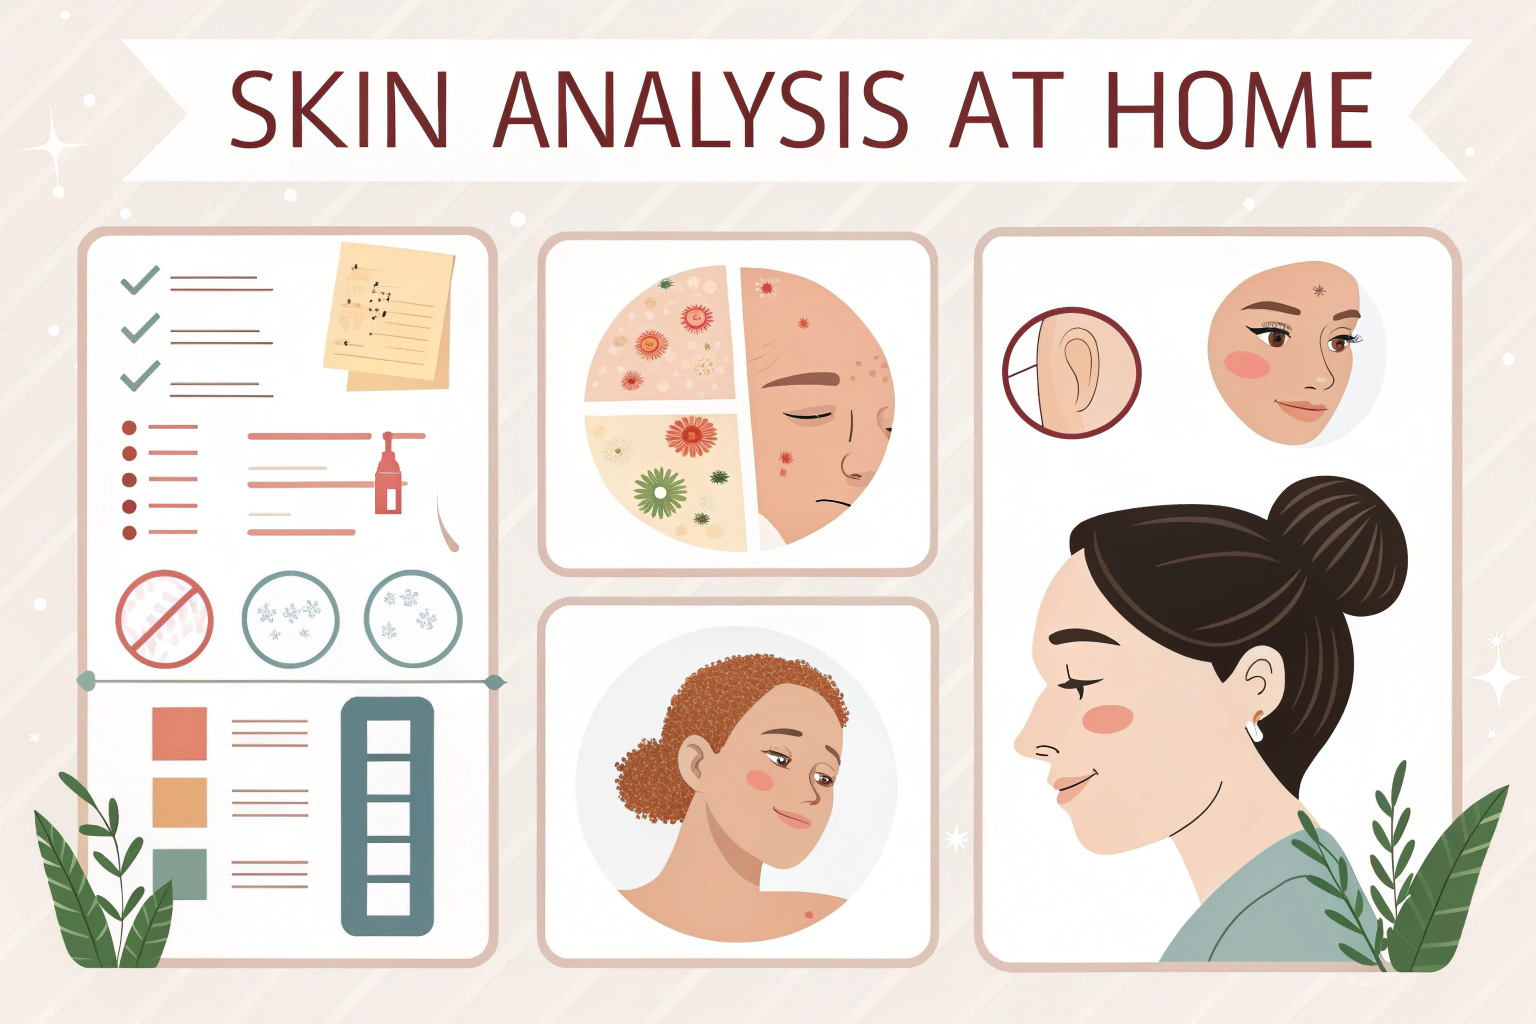
How to Do a Skin Analysis at Home
You don’t need any complicated equipment. For a basic at-home skin analysis, gather:
A gentle cleanser
A clean towel
Natural daylight or a bright, white light
A mirror (preferably magnifying)
Tissue or blotting paper
A notepad or app to record your observations
Allow about 30 minutes for the process, especially if you're doing it for the first time.
Step 1: Start with a Clean Face
Wash your face using a mild, fragrance-free cleanser. This helps remove dirt, oil, and product buildup. Avoid applying anything afterward, no toner, moisturizer, or serum. Let your skin rest for about 20–30 minutes in a clean environment. This allows your natural oil production and hydration levels to rebalance.
Step 2: Examine in Natural Light
Stand near a window or use bright, neutral light. Look closely at your face in the mirror. Pay attention to: Shine or oiliness, Redness or irritation, Discoloration or uneven tone, Dullness or loss of radiance, Flaking or dry areas.
Focus on each zone of your face: forehead, cheeks, nose, chin, and jawline.
Step 3: Perform the Tissue Test
To check for oil production and help determine your skin type, press a single layer of tissue or blotting paper onto your forehead, nose, cheeks, and chin.
Check each sheet for oil:
Oil in all areas: likely oily skin
Oil in T-zone only: likely combination skin
Minimal oil: likely normal or dry skin
Pro Tip: Be consistent, test each zone and write down your findings. This step is especially helpful after your skin has rebalanced post-cleansing.
Step 4: Assess Skin Texture and Pore Visibility
Now that you know how your skin distributes oil, it’s time to zoom in on your skin’s surface. Use a magnifying mirror if you have one, or take a close-up selfie with your phone camera in good lighting.
Texture tells a deeper story. Run your clean fingers lightly across your skin. Does it feel smooth and soft? Rough or bumpy in places? Are there areas where pores are more visible? Larger pores are often associated with higher oil production, especially around the nose and chin.
You may also notice fine lines forming around the eyes or forehead, or flaking around the mouth or cheeks. These are important signs, wrinkles can signal aging or dehydration, while flakiness often points to dryness or over-exfoliation.
Step 5: Identify Common Skin Concerns
Beyond basic skin type, most people deal with one or more skin conditions or concerns. Take a look for: Pigmentation, freckles, or sunspots, Acne, blackheads, or clogged pores, Sensitivity or redness, Fine lines or wrinkles, Dark under-eye circles, Loss of firmness, Signs of dehydration (tightness, dullness without flaking).
These concerns may shift over time. Try to identify patterns, are you more dehydrated in winter? Does redness appear after stress? Record what you notice so you can monitor changes across the seasons.
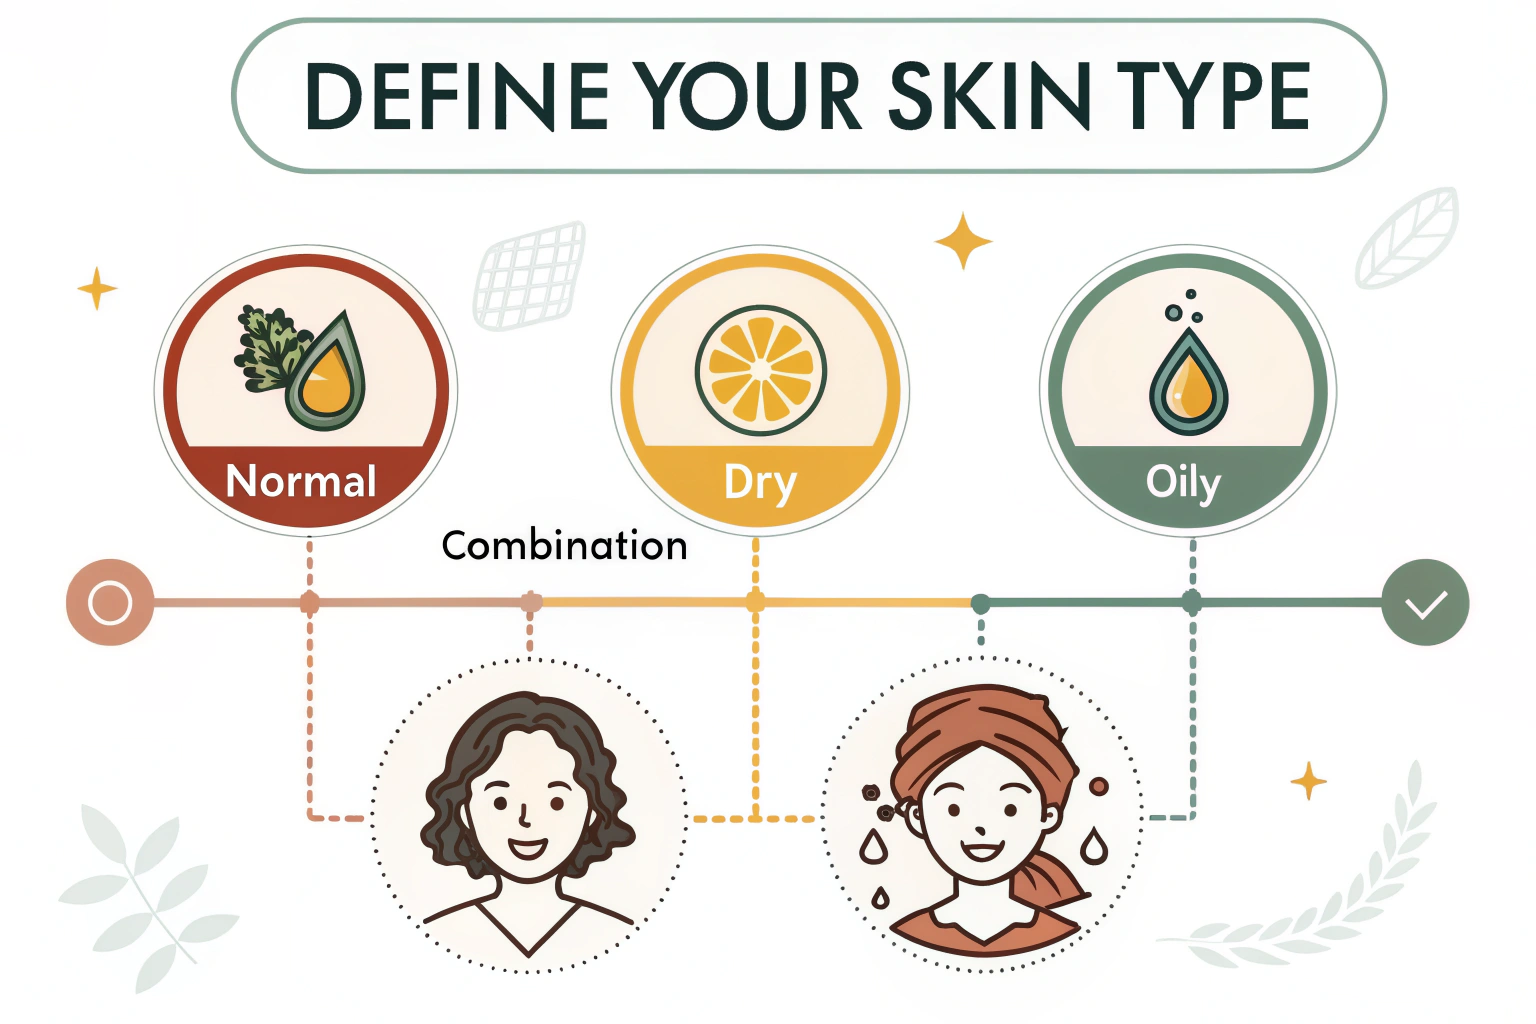
Step 6: Define Your Skin Type
Now that you’ve gathered all your observations, you can determine your overall skin type. Here’s a quick breakdown:
Normal skin feels balanced, with minimal issues.
Oily skin has excess shine, especially in the T-zone, and larger visible pores.
Dry skin feels tight or rough, often with flaking or dullness.
Combination skin is oily in some areas (like the T-zone) and dry or normal in others.
Sensitive skin reacts easily, with redness, stinging, or irritation from products or weather.
This classification helps form the base of your skincare routine, but remember, it’s just the start. Your type may stay relatively consistent, but concerns like dehydration, breakouts, or dark spots can appear any time.
Step 7: Track and Review Over Time
Skin is not static. It changes with the seasons, your environment, diet, stress levels, and even the products you’re using. That’s why one skin analysis isn’t enough.
Keep a simple record of your observations. Create a note in your phone or dedicate a small notebook to monthly check-ins. Look for changes in oil levels, emerging concerns, or areas that feel different over time.
CeraVe explains how complex skin types like combination skin can lead to both oily zones and dry patches, making personalized skincare more important than ever.
Want to Skip the Manual Work? Let Smart Tech Do the Skin Analysis for You
By now, you’ve seen how detailed skin analysis can be, from oil mapping to texture checks and concern tracking. And while doing it yourself gives you a deep understanding of your skin, it does take time, patience, and practice.
If you’re looking for a faster, more accurate way to analyze your skin, without second-guessing or worrying about lighting or technique, AI-powered tools like Face Age can now handle this process in seconds.
With just a selfie, these smart systems can detect hundreds of skin concerns, determine your skin type, and even generate custom skin care suggestions or routines. They follow all the steps you just learned, oil zone checks, pore visibility, dehydration markers, fine lines, redness, pigmentation, but do it instantly and consistently.
Take the Next Step: Try a Smart Skin Check Today Want a faster way to understand your skin, without mirrors, lighting issues, or note-taking? Let AI do the hard part. Upload a selfie, get instant skin insights, and unlock personalized suggestions.
This is especially powerful for skincare store owners or beauty professionals. Instead of relying on customer guesswork or generic quizzes, you can now offer a personalized skin check right on your website, no appointments, no manual input. This helps customers feel seen and supported, while also boosting trust in your product recommendations.
Whether you're a skincare enthusiast looking to simplify your routine or a business aiming to help your customers find their perfect products faster, AI skin analysis can elevate the experience, for everyone involved.
Final Thought
Understanding your skin is the first step toward choosing the right products, building routines that actually work, and feeling more confident in your choices. Whether you're caring for your own skin or helping others find their way, knowing how to do a skin analysis gives you clarity in a world full of noise.
And remember, while manual analysis gives you deep insight, modern tools can help speed things up and remove the guesswork. Combine both approaches and you’ll always be one step ahead in your skincare journey.
We’d Love to Hear From You
Have you ever done a skin analysis before? Drop your thoughts, questions, or experiences in the comments below! Let’s build a more skin-smart community, together.
FAQs
1. What is the best way to do a skin analysis at home?
The best way to analyze your skin at home is to start with a clean face, wait 30 minutes to let your skin return to its natural state, then observe it in natural light.
2. How can I tell my skin type by myself?
After cleansing and waiting 30 minutes, gently press blotting paper on different areas of your face. If oil shows on all zones, you likely have oily skin. If only your T-zone is oily, you may have combination skin. Little to no oil suggests dry skin. Balanced oil without dry or oily patches points to normal skin.
3. Why is skin analysis important before buying skincare products?
Skin analysis helps you choose products based on your actual skin type and concerns, rather than guesswork or marketing claims.
4. How often should I analyze my skin?
It’s recommended to do a full skin analysis once a month. Your skin can change with the seasons, stress, diet, and environment.
5. Can I do a professional-quality skin analysis without going to a clinic?
Yes! While dermatologists offer in-depth assessments, AI-powered tools now allow you to perform professional-grade skin analysis from home using just a selfie.
Related articles
face age
10 minutes
March 28,2024
Carleton Rodriguez
SkinGPT: Revolutionizing Skincare
In the ever-evolving landscape of skincare, innovation takes center stage. The synergy of artificial intelligence and skincare has given rise to groundbreaking technologies, and two... read more
face age
10 minutes
March 27,2024
Mayra Windler
How Personalized Product Recommendations Can Boost Your Sales
The insurance industry is no laughing matter. Millions of people use everything from borrowing against life insurance... read more
face age
14 minutes
March 26,2024
Roscoe Johnston
How To Increase Sales On Shopify
Running a successful Shopify store involves more than just having great products. To truly stand out in the competitive e-commerce space, offering a unique and engaging customer experience is crucial.. read more
Sell more through AI personalization
Who has used Face Age in their online shop and enjoyed it?
%202.png)

.png)
.png)


.png)